
How to Add Your Custom Fonts in Squarespace 7.1
Squarespace is really great at providing us with ample fonts to choose from, however, that isn’t a guarantee that your brand font will be found among the 1,000+ they offer. If that is the case, you can copy and paste a little bit of code and follow a few easy steps to add your own custom font to your website. Easy peasy!
Before you get started following these steps, be mindful about what rights you have in using your font. The font you are uploading should come with a license allowing you to use it for your website. If you haven’t purchased your font yet, you can explore marketplaces like Creative Market and Etsy to find the perfect one for your site.
Step 1. Upload Your Font
To get started, we need to first upload your font file. This file is a TTF, OTF or a WOFF file.
From your main menu go to Design > Custom CSS
In the CSS menu scroll down and click Manage Custom Files > Add Images or Fonts,
Upload your font file.

Step 2. Add the Custom Font to CSS
Copy and paste the following code to the CSS window:
“@font-face {
font-family: YOURFONT;
src: url( );
}”
Replace the text that says YOURFONT with the name of your custom font.
Finally, you’ll need to add the URL for the font file we just uploaded. To do this, put your cursor between the two brackets and then click the font file from the custom files menu.
Here is an example of what it should look like when you are done adding the font to the CSS:
“@font-face {
font-family: passionsconflict;
src: url(https://static1.squarespace.com/static/633dbb5111a21744fe609425/t/63861a36a3461f25f2f05027/1669732918247/PassionsConflict-Regular.ttf);
}”
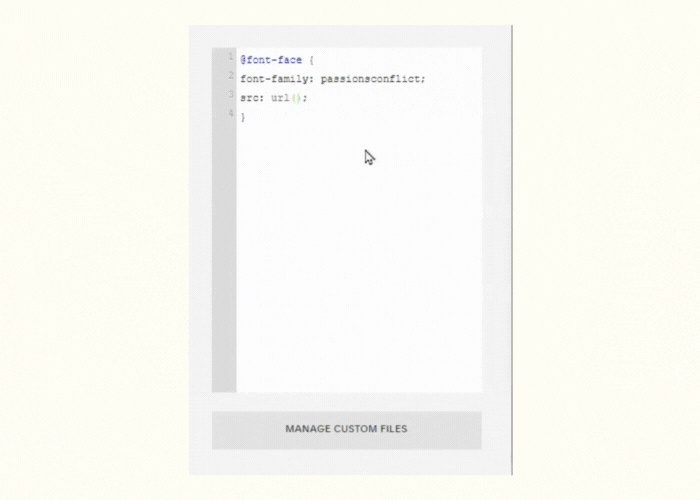
Add the font URL to the CSS.
Step 3. Designate the Font
Now all we have to do is designate where you want your custom font applied. In Squarespace 7.1 you have the option to customize 4 Heading and 3 Paragraph fonts. Each of these font styles are designated in the code as follows:
Heading 1 - H1
Heading 2 - H2
Heading 3 - H3
Heading 4 - H4
Paragraph 1 - .sqsrte-large
Paragraph 2 - p
Paragraph 3 - .sqsrte-small
Once you decide which option you want to use for your custom font you will need to copy and paste it into your CSS window. You can see how to copy and paste each selection below.
“h1 {font-family: ‘YOURFONT’;}
h2 {font-family: ‘YOURFONT’;}
h3 {font-family: ‘YOURFONT’;}
h4 {font-family: ‘YOURFONT’;}
.sqsrte-large {font-family: ‘YOURFONT’;}
p {font-family: ‘YOURFONT’;}
.sqsrte-small {font-family: ‘YOURFONT’;}”
Replace YOURFONT with the font family name you designated in the previous step. Make sure it is spelled exactly how you spelled it previously or the code won’t work.
Step 4. Style the Font
If you need to style this font differently from how it is set in your site style menu and you don’t want it to impact your other heading and paragraph fonts, you can do this with a little added CSS.
What do I mean by this? Once you’ve uploaded your font and applied it using CSS, you can change the font size, weight, etc using your site style menu. However, any changes your make to the font styles are applied globally to any of those font styles throughout your website.
For example, if you change the font weight of the custom font you just uploaded and you have it applied to H1, you cannot just change the weight in the site style menu without it applying to your H1, H2, H3 and H4 fonts.
The only style you can change independently from the rest is your font size.
You can copy and paste any part of this code into your CSS window to change the font weight, letter spacing and text transform.
I am using the P1 font style for this example since that is what we have used for this tutorial, but you can change this as needed for your situation.
“.sqsrte-large {
font-weight: 500;
letter-spacing: 0.2em;
text-transform: lowercase;
}”
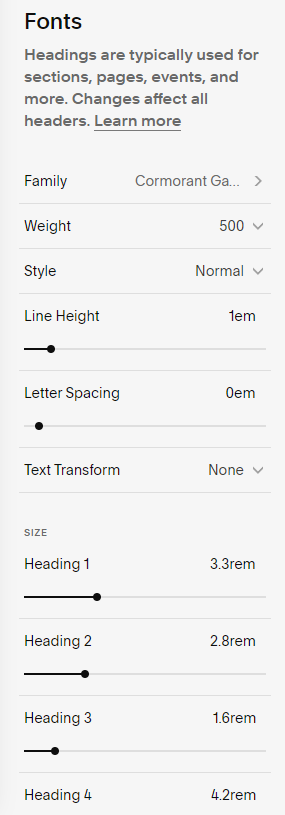
Font style menu.
How to Create an Accent Font
The previous steps walk you through how to upload a custom font for the designated Heading and Paragraph fonts, but what if you need a totally separate option to use just for an accent font? We can do that with just a tiny bit of extra code too!
First, follow Step 1 and Step 2 above to upload your font and add it to your CSS.
Next, you need to decide what style to use to make your accent font appear. You can use any of the font style designations I listed above in Step 3 and use em to represent italicize.
For this example, we will use Heading 2 + Italicize and designate this for your accent font. Copy and paste this code in your CSS window to do this and make sure to replace YOURFONT with the font family you added previously.
“//Accent Font-Heading 2 Italicized//
h2 em {
font-family: ‘YOURFONT’;
font-weight: normal !important;
font-style: normal !important;
}”
By using !important we are making sure that the style settings for your custom font are used and not any of the other settings you have set in your site style menu.

Example accent font customization using H2 and Italicize.
Depending on the type of font you are using, you may need to change the font size. This would be an acceptable time to add the font size to your accent font code like this:
“//Accent Font-Heading 2 Italicized//
h2 em {
font-family: ‘YOURFONT’;
font-size: 2.6rem;
font-weight: normal !important;
font-style: normal !important;
}”
If you liked this post, Pin it!
